Let’s start by getting the project up and running.
Get started
The repository, neo4j-graphacademy/llm-chatbot-typescript, has been created for this course. It contains any starter code and resources you need.
You can use a GitHub codespace as an online IDE and workspace for this course. It will automatically clone the course repository and set up your environment.
GitHub Codespaces
You will need to login with a GitHub account. The GitHub Codespaces free monthly usage will cover the duration of this course.
Develop on your local machine
You will need Node.js installed and the ability to install packages using npm.
The project was created using Node.js v20.11.x0 LTS.
You can verify your Node.js version by running the following command.
node --versionClone the github.com/neo4j-graphacademy/llm-chatbot-typescript repository:
git clone https://github.com/neo4j-graphacademy/llm-chatbot-typescriptFork the repository
You can fork the repository and have a copy for future reference.Run the npm install command to install the dependencies.
cd llm-chatbot-typescript
npm install --include=dev
Setup the environment
To connect to Neo4j, you must set your Neo4j Sandbox credentials as environment variables.
To set environment variables in a Next.js application, you can create a .env.local file.
You can read more about Next.js Environment Variables in the Next.js documentation.
Copy the .env.example file to .env.local and update the Neo4j connection settings:
NEO4J_URI="bolt://{instance-ip}:{instance-boltPort}"
NEO4J_USERNAME="{instance-username}"
NEO4J_PASSWORD="{instance-password}"
NEO4J_DATABASE="{instance-database}"
You must also set your OpenAI API key. You can find instructions on generating an API key on openai.com.
Replace the OPENAI_API_KEY value with your OpenAI API key.
OPENAI_API_KEY="sk-..."Keep your secrets safe
Never share your API keys.
The .env.local file has been added to .gitignore so the contents are not unintentionally committed to Github.
Start the Application
To start the app, run the npm run dev command.
npm run devThis command command will start a server on http://localhost:3000. Once you have run the command, you should see the following interface.
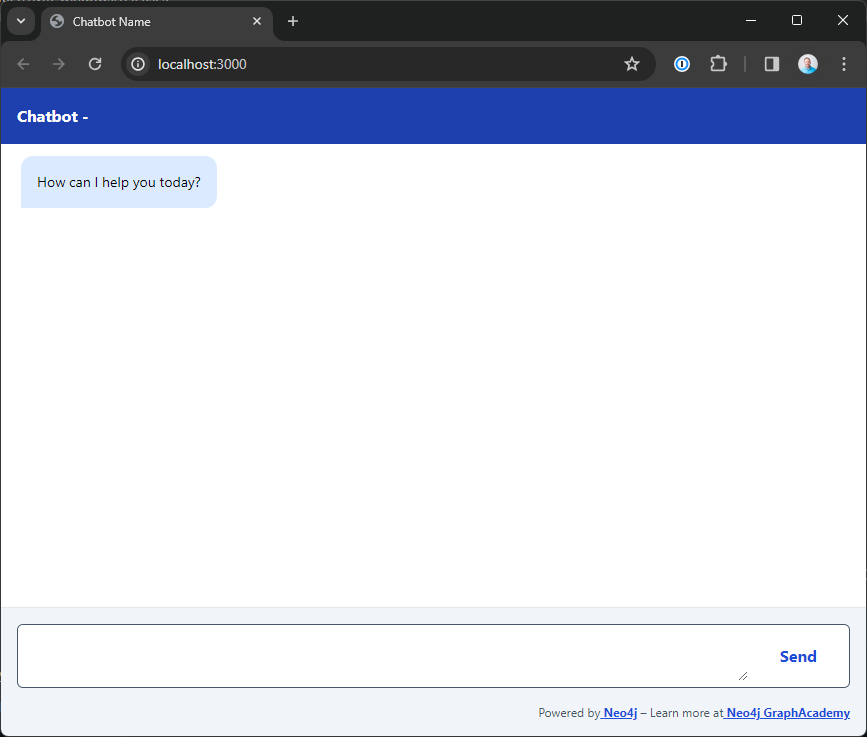
When the user sends a message, the app will render the message in a box aligned to the right of the screen, similar to other chat apps. The app will display any messages returned by the API to the left of the screen.
Exploring the src/ folder
The code is purposely simple so you can focus on the LLM integration.
The app/ folder contains the general application code, plus some custom CSS.
The components/ folder contains React components that display the chat interface, including the form, message, and a thinking indicator.
The hooks/ folder contains the React hook that holds the chatbot’s state and enables the chat interface.
When the form is submitted, the application state is updated to show the loading indicator and send an HTTP POST request to the /api/chat/ endpoint, where it will generate a response.
When a response is received, the message is stored in the state and appended to the chat interface.
Handling Submissions
A route handler in the src/pages/api/chat.ts file extracts the user’s input and the current Session ID from the request.
Then, it passes the input and Session ID to the call() function in the src/modules/agent/index.ts file. For now, the call() function simply returns the user’s input after a short delay, but it will eventually provide an interface to the LLM.
Check your understanding
Server Address
What Local URL would you use to view the Streamit app in your browser?
-
❏ http://localhost:1234
-
✓ http://localhost:3000
-
❏ http://localhost:7474
-
❏ http://localhost:8501
Hint
After running the npm run dev command, you should see an output similar to the following:
> llm-chatbot-typescript@0.1.0 dev
> next dev
▲ Next.js 14.0.2
- Local:        http://localhost:3000
- Environments: .env.local
The answer to this question is the Local URL written to the console.
Solution
The answer is http://localhost:3000.
Summary
In this lesson, you obtained a copy of the course code, installed the dependency and used the npm run dev command to start the app.
In the next lesson, you will set the scope for the project.