Introduction

To get you started, we have created a simple Chatbot interface. When you first get the project up and running, it will simply repeat your messages back to you.

But as you progress through the course, you will build the functionality to turn the Chatbot into an intelligent movie recommendation assistant. It will use the data held in a Neo4j database to improve the responses generated by an LLM.

First, let’s take a look at the technology choices we have chosen.

An introduction to Streamlit

We have chosen to implement the chatbot using Streamlit.

Streamlit is an open-source Python library that allows developers to create web applications for data-centric projects with minimal effort.

With minimal code, developers and data scientists can convert data scripts into functional web applications without needing to write front-end-specific code. Its simple API and compatibility with existing Python-based projects and tools means that integration is seamless, reducing the overhead typically associated with web application development.

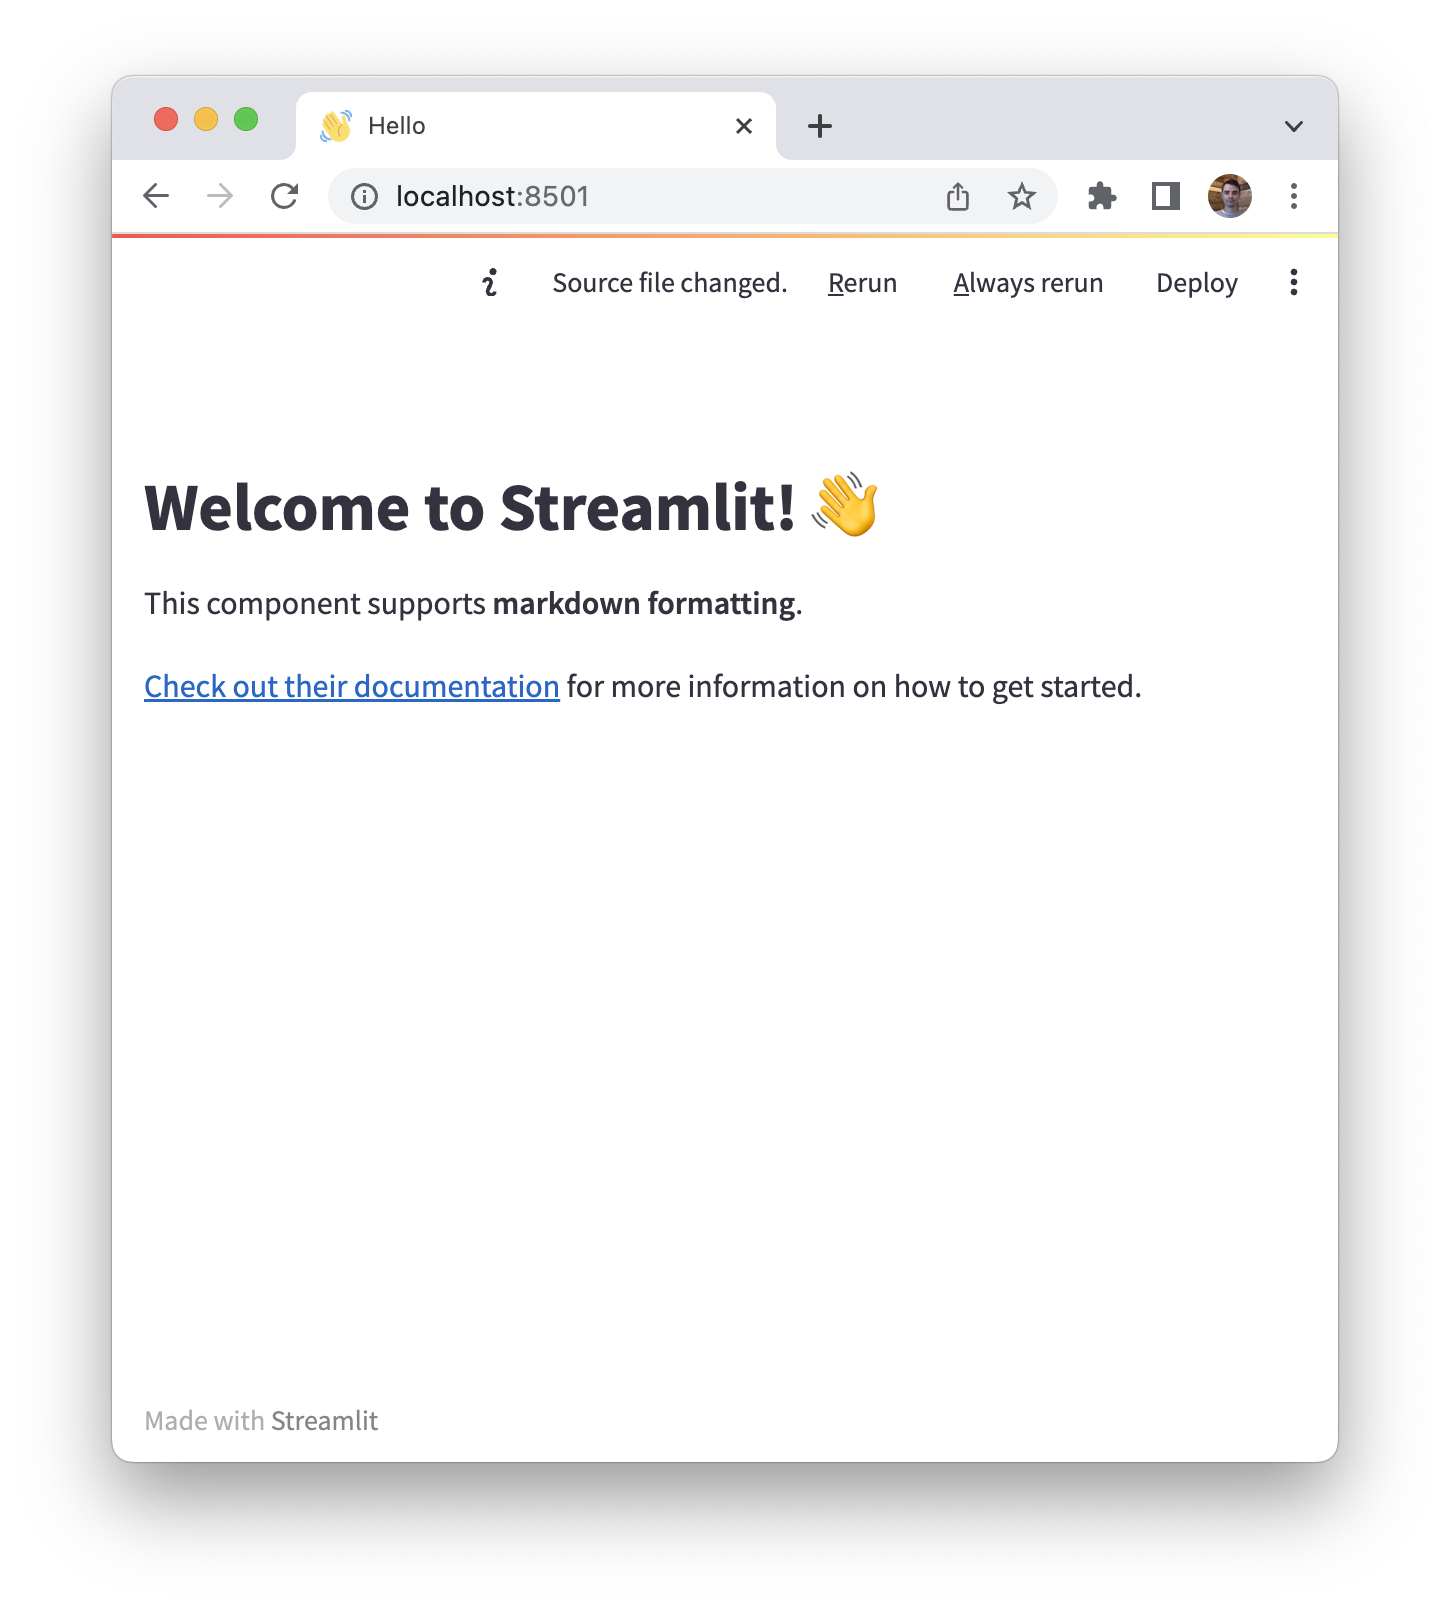
Streamlit provides methods to create Chat elements, making it trivial to build a chatbot interface. This means that we can concentrate on the chatbot logic.

Streamlit is available on PyPI and can be installed using the pip install command.

sh
Installing Streamlit
pip install streamlit

Once the dependencies are installed, you can start accessing components through the st object.

python
app.py
import streamlit as st

st.set_page_config(
    page_title="Hello",
    page_icon="👋",
)

st.write("# Welcome to Streamlit! 👋")

st.markdown("""
This component supports **markdown formatting**, which is handy.

[Check out their documentation](https://docs.streamlit.io) for more information on how to get started.
""")

To run the app, execute the streamlit run command.

sh
streamlit run app.py

Running this command will start a server listening on http://localhost:8501.

Streamlit Hello World Example

If you take a look at the top right corner of the screenshot, you will see a notification saying Source file changed. This menu will appear when you make changes to the source code. To reload the changes once, you can click the R erun button, or to hot-reload changes as they are saved, you can click A lways rerun.

Deploying your app

You can quickly share your app with others through the Streamlit Community Cloud by clicking the Deploy button.

LLM Integration with Langchain

At the start of the course, the AI assistant simply repeats the user input. But this AI assistant will become smarter as we write the code for it to communicate with an LLM.

If you have completed the Neo4j & LLM Fundamentals course, you will be familiar with Langchain. LangChain is an open-source framework designed to accelerate the development of LLM applications. We have chosen Langchain because it provides a flexible base to test LLMs, and out-of-the-box chains for performing complex tasks.

Although we have chosen Streamlit, you will be able to use these components with the backend framework of your choice.

LLMs from OpenAI

We have included instructions to integrate the Chatbot with OpenAI’s Large Language Models.

OpenAI has gained prominence through its Generative Pretrained Transformer (GPT) series. GPT models are trained on vast datasets to generate text that mimics human writing. The release of GPT-3, and subsequently GPT-4, showcased improvements in language understanding and generation, increasing their application in various industries. The practical utility of these models in tasks like writing assistance, programming, and language translation has led to widespread adoption and attention.

You are by no means restricted to OpenAI, however. The hands-on challenges in this course are LLM-agnostic and you are free to use one of the 60+ supported LLMs.

Open-Source Alternatives

If you are looking for an open-source alternative, we recommend that you take a look at the GenAI Stack. The GenAI Stack consists of LangChain applications connecting to LLMs served by Ollama, run within Docker containers and backed by a Neo4j database.

Complete the course Local or Online

In the next lesson, you will set up your project. You can either clone or download the repository and complete the exercises locally, or you can use the Open in Gitpod buttons to complete the challenges using an Online IDE.

Ready for launch?

Click the button below to mark this lesson as read. We will then advance to the next lesson where we will get the project up and running.

Summary

In this lesson, we introduced you to the course.

In the next lesson, you will set your secrets and get the project up and running.

Chatbot

Hi, I am an Educational Learning Assistant for Intelligent Network Exploration. You can call me E.L.A.I.N.E.

How can I help you today?